1. Getting Started
To get started, we install Blender from the official website, and get a rough overview of what can expect at the first time it opens.
Install Blender
Blender is completely free and developed by the community. The software can be installed from the official download page.
Ensure that the downloaded file matches with the Operating System (OS) of your machine. To check whether your machine is powerful to run Blender, refer to the Requirements section.
For this tutorial, the Blender version used is 5.1.2. However, since we will only cover the basics, the tutorial should work for other similar versions.
Your First Launch
After following through the installation process, the Blender icon should appear in your desktop screen. Upon openning Blender, the initial layout would look similar to the image below
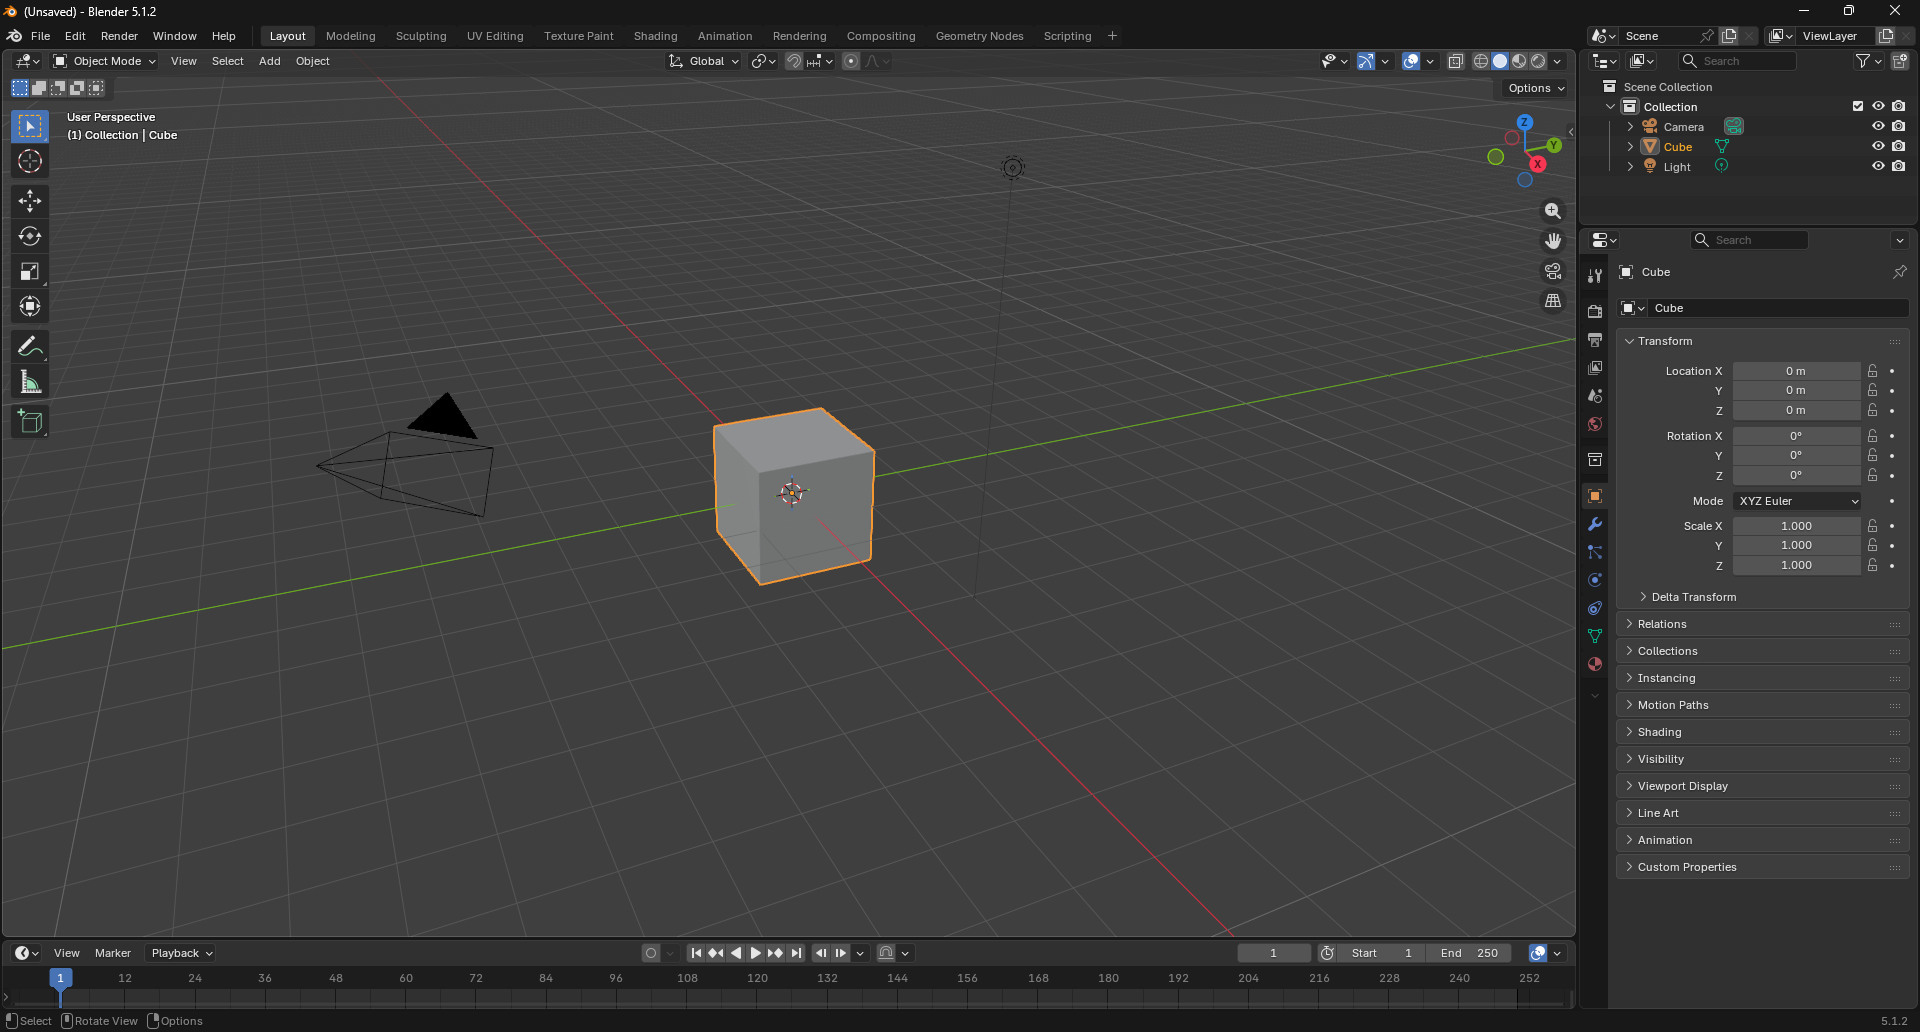
Overview of The Layout
Blender uses the +Z axis as the up axis.
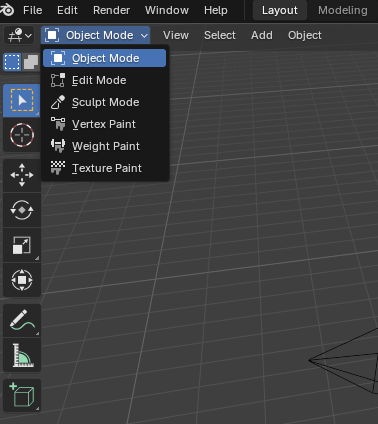
The top-left corner shows what mode you are in. Currently, we are in the Object Mode. There are other Modes as well, and we will cover them in the example projects.
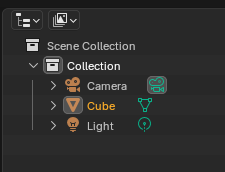
Currently, in your scene, there are 3 objects: Camera, Cube and Light. This information can be seen on the top right corner of the screen
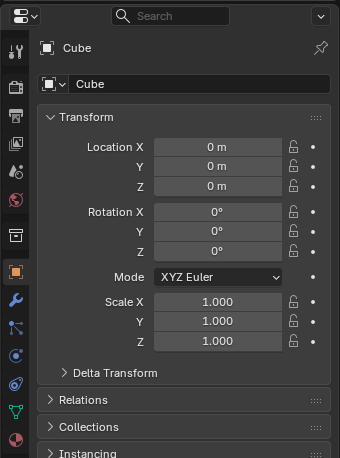
The tab right below also shows the properties of the selected object. Currently the cube is selected and highlighted orange.
The bottom tab is for animation. By storing the object properties at specific time frames, we can interpolate the properties over time for simple animation.
