2. Modeling a Donut
Within the Blender community, it is a tradition to start your first Blender project with modeling a donut. In this chapter, you will get used to navigating Blender, adding/removing objects and using the Edit Mode.
Understanding The Basics
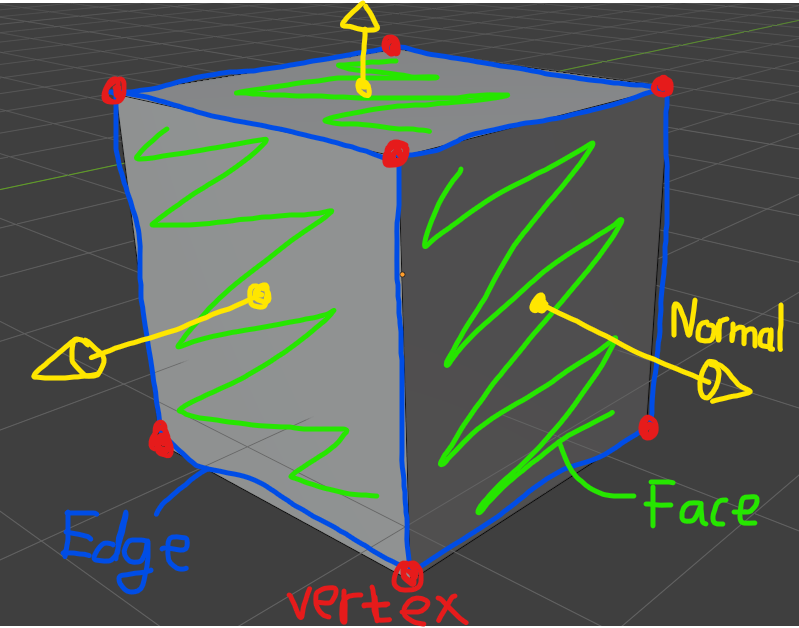
Before starting this section, it is important to understand the primitives that define our model. In the real world, there are billions of billions of atoms that define the shape of our daily objects. To render these amount of atoms on our computer would be impossible. This is why we approximate with limited amount of points (also known as vertices) connected to each other, forming a wireframe or a skeleton of our model.
Inside Blender, there are two commonly used modes:
- Object Mode: edit the properties that manage the entire object (position, scaling, rotation, ...).
- Edit Mode: edit the internal geometry of an object (vertices, edges, faces).
To move the camera around:
- Pivot: MiddleMouse
- Slide: Shift+MiddleMouse
Create an Empty Donut Project
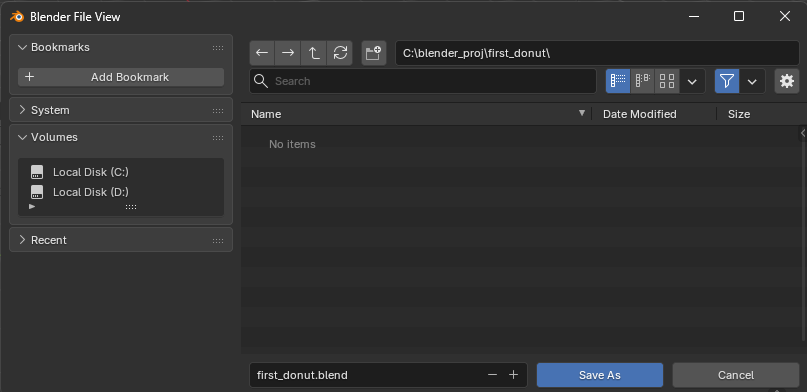
When first open Blender, press Ctrl+S to save the empty project. For example, this project is saved as first_donut.blend
Removing Objects
Firstly, select all of the 3 default objects. This can be done by pressing A, which is short for (Select All).
Then press Delete to remove all selected objects.
Adding Object
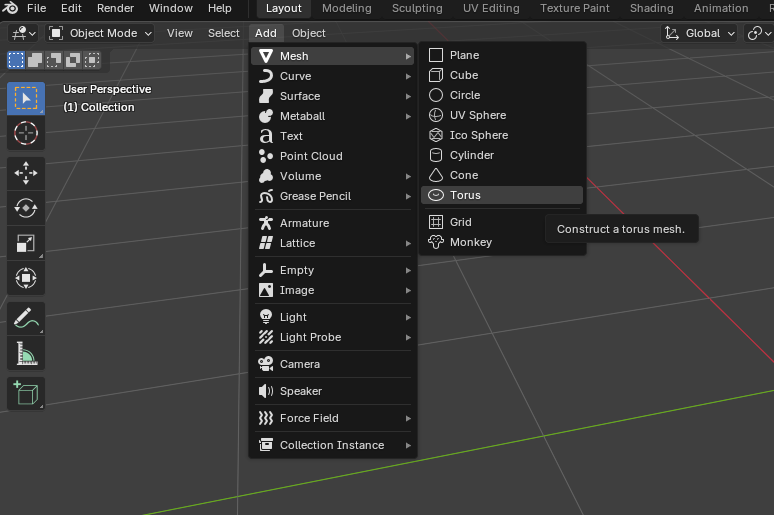
Next, we add a base torus shape for the donut. This can be done by selecting Add>Mesh>Torus.
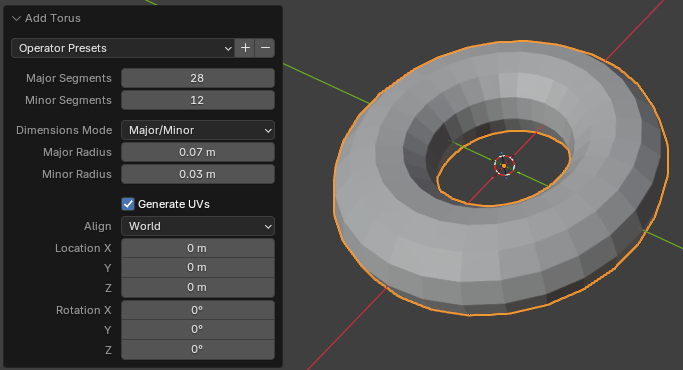
Configuring Torus Shape
A setting panel will appear in the bottom-left corner (Press F9 in case it dissapear).
Set the major/minor segment values to be 28 and 12 to reduce the polygon count. Enter the donut size of 7cm outer ring and 3cm inner thickness.
Adding Surface Imperfections with Edit Mode
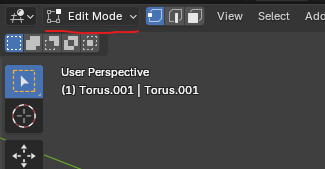
For this step, we want to add some variations to the surface. First, go to Edit Mode by pressing Tab to cycle between View and Edit Mode. The current mode you are in can be checked at the top-left corner.
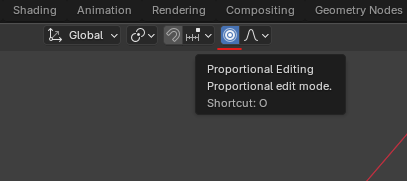
Edit Mode allows us to grab individual vertices that define our mesh and move them around. To influence nearby vertices, enable Proportional Editing.
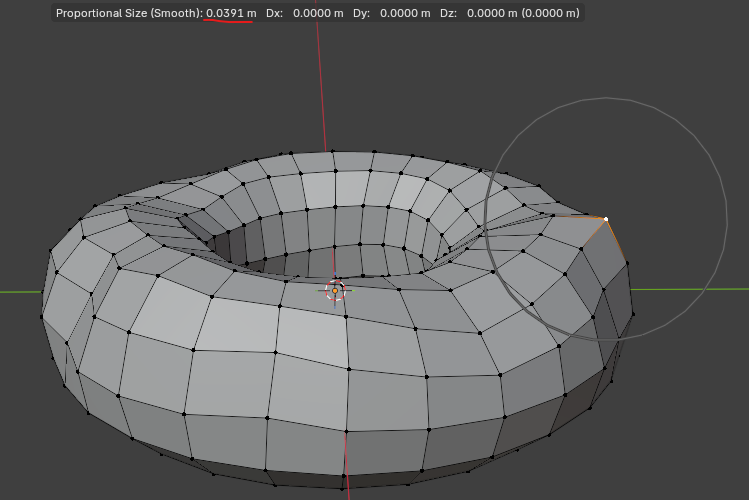
Select a random vertex and press G to move it around. By default, the proportional editing affects vertices within 1m radius, which cover all of the vertices of the donut. Scroll the MouseWheel to reduce the value down to around 0.04m as shown below. The larger the radius, the more vertices nearby are affected by the changes.
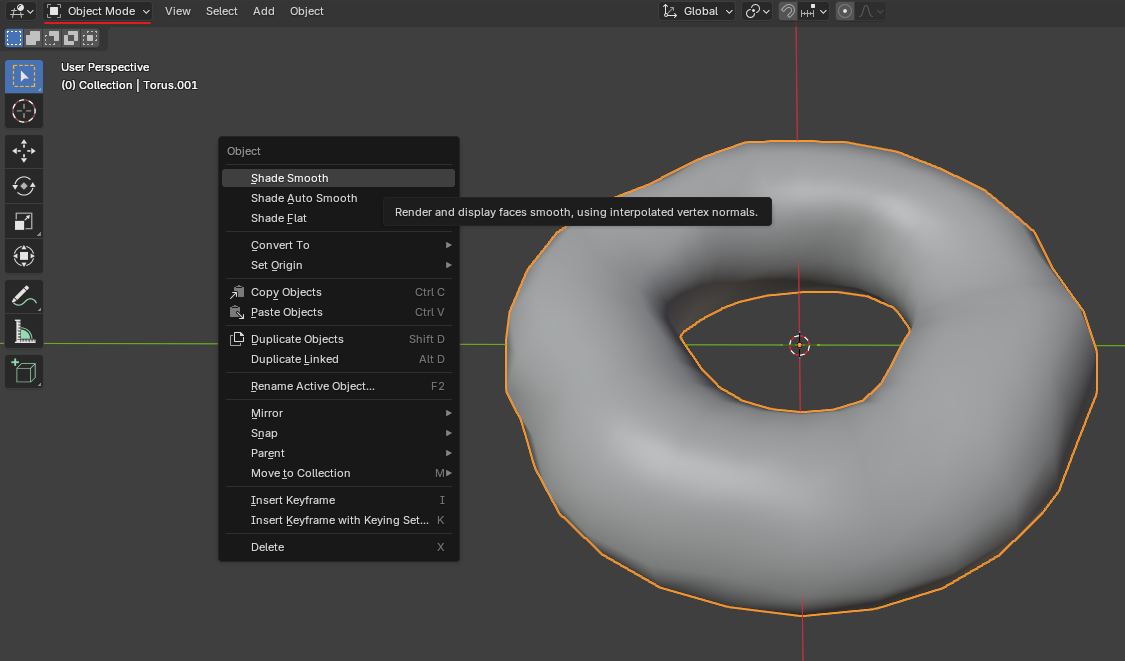
Smoothen the Model
The donut now should look lumpy but the surface still shows quads. Press Tab to switch back to ViewMode, select the donut, right-click, and click Shade Smooth.